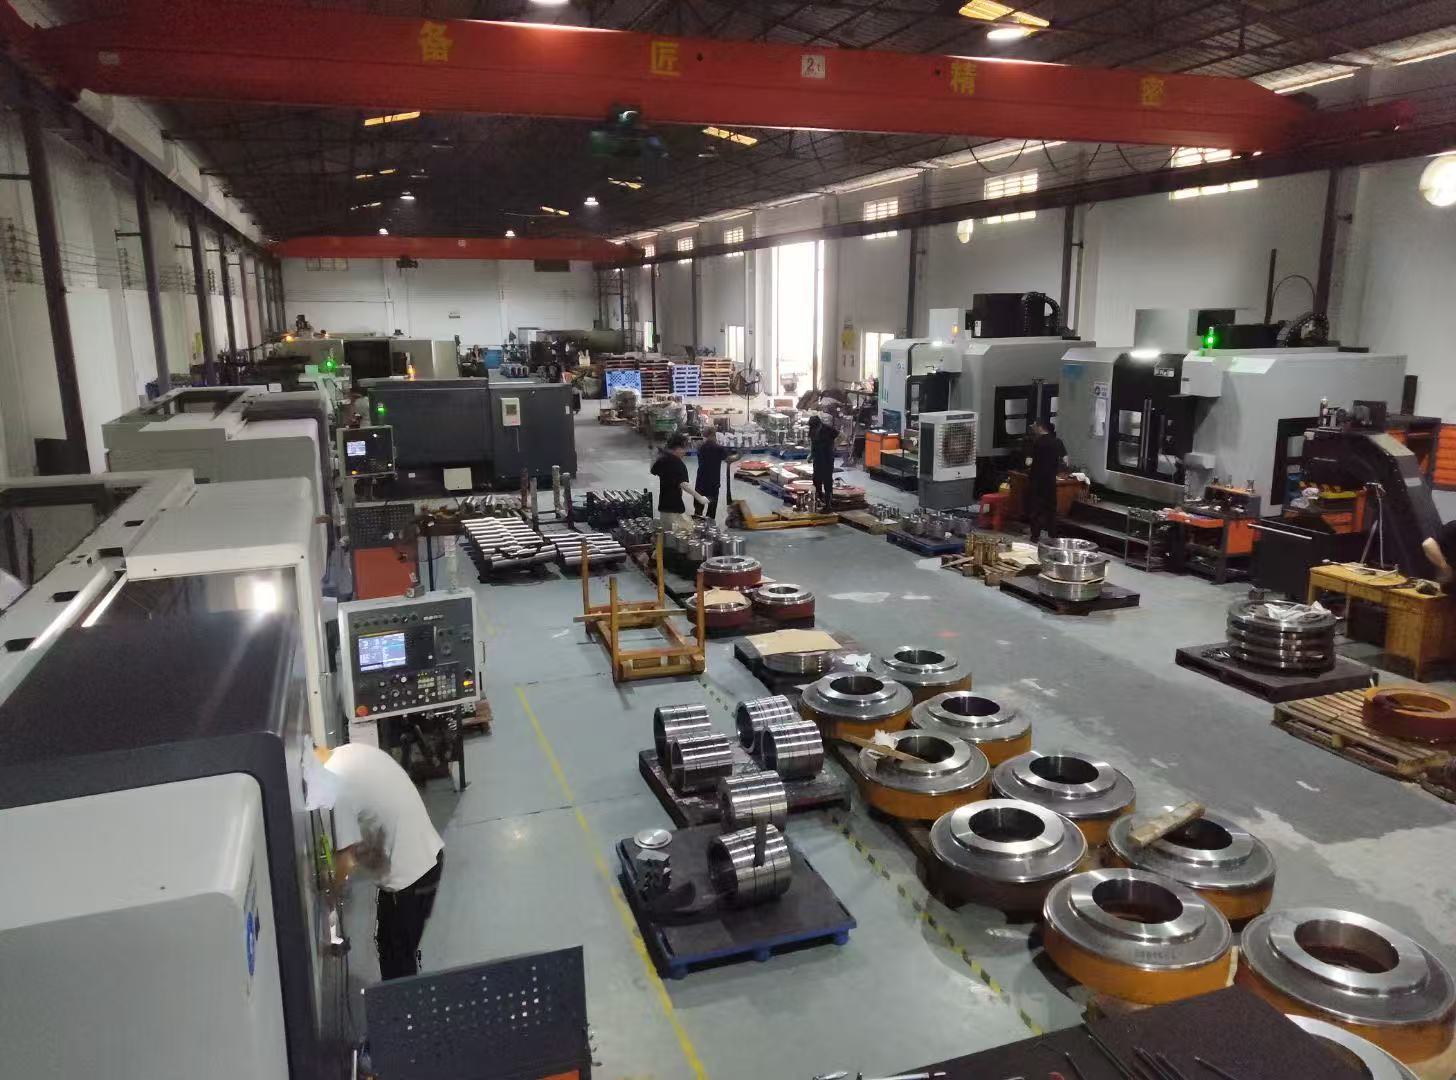
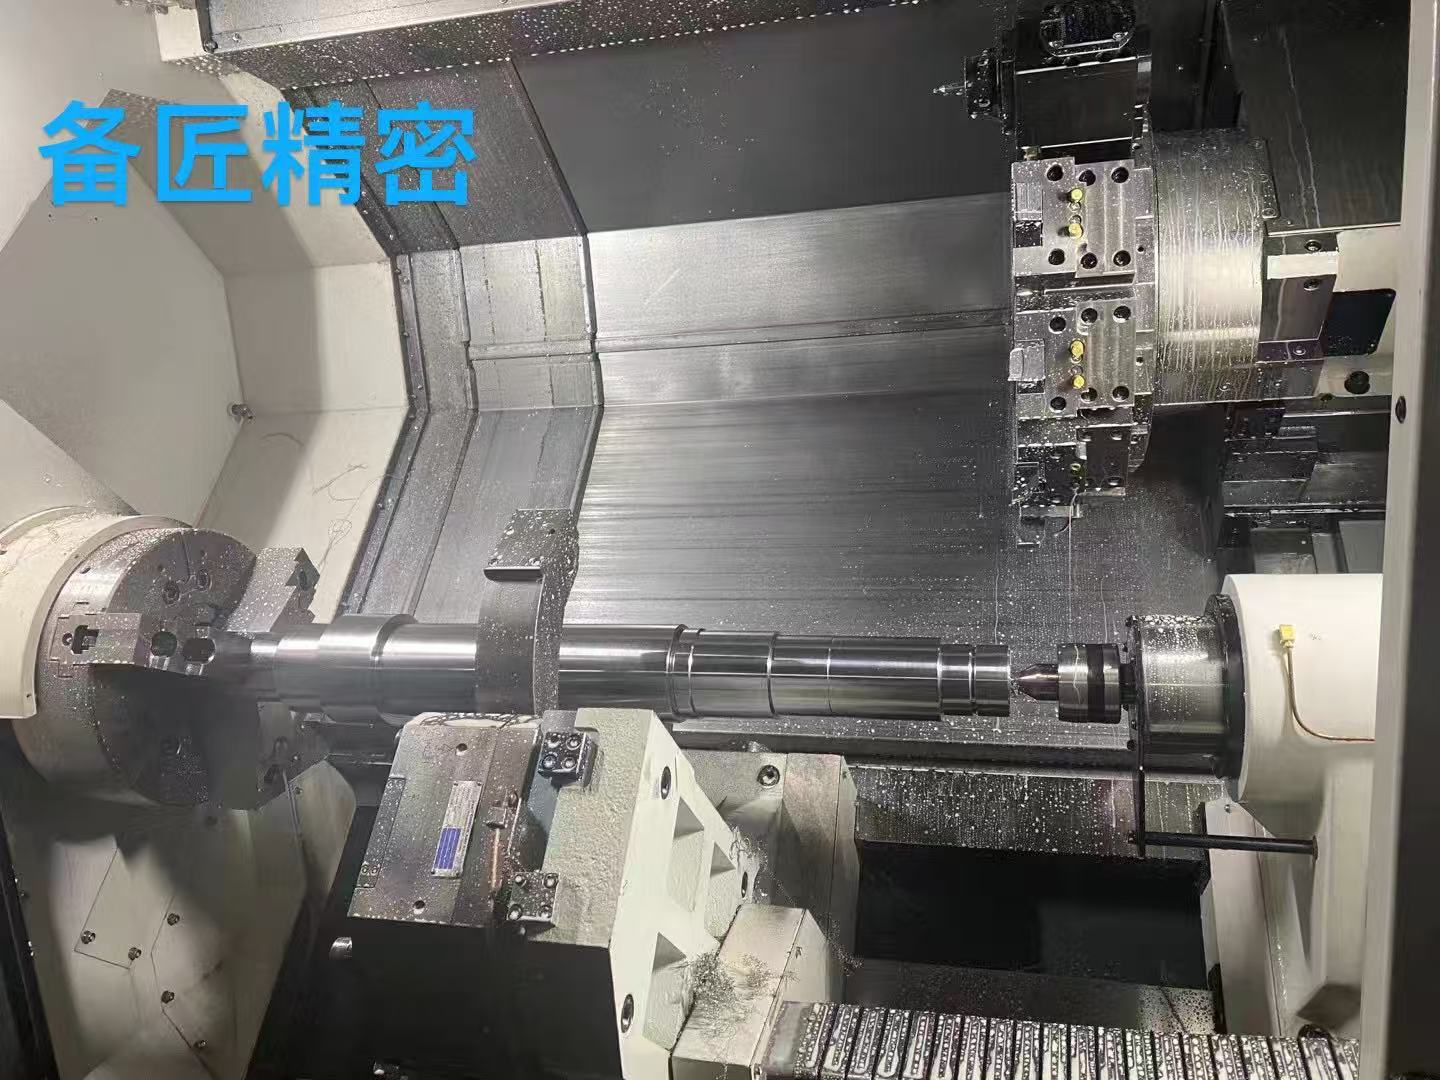
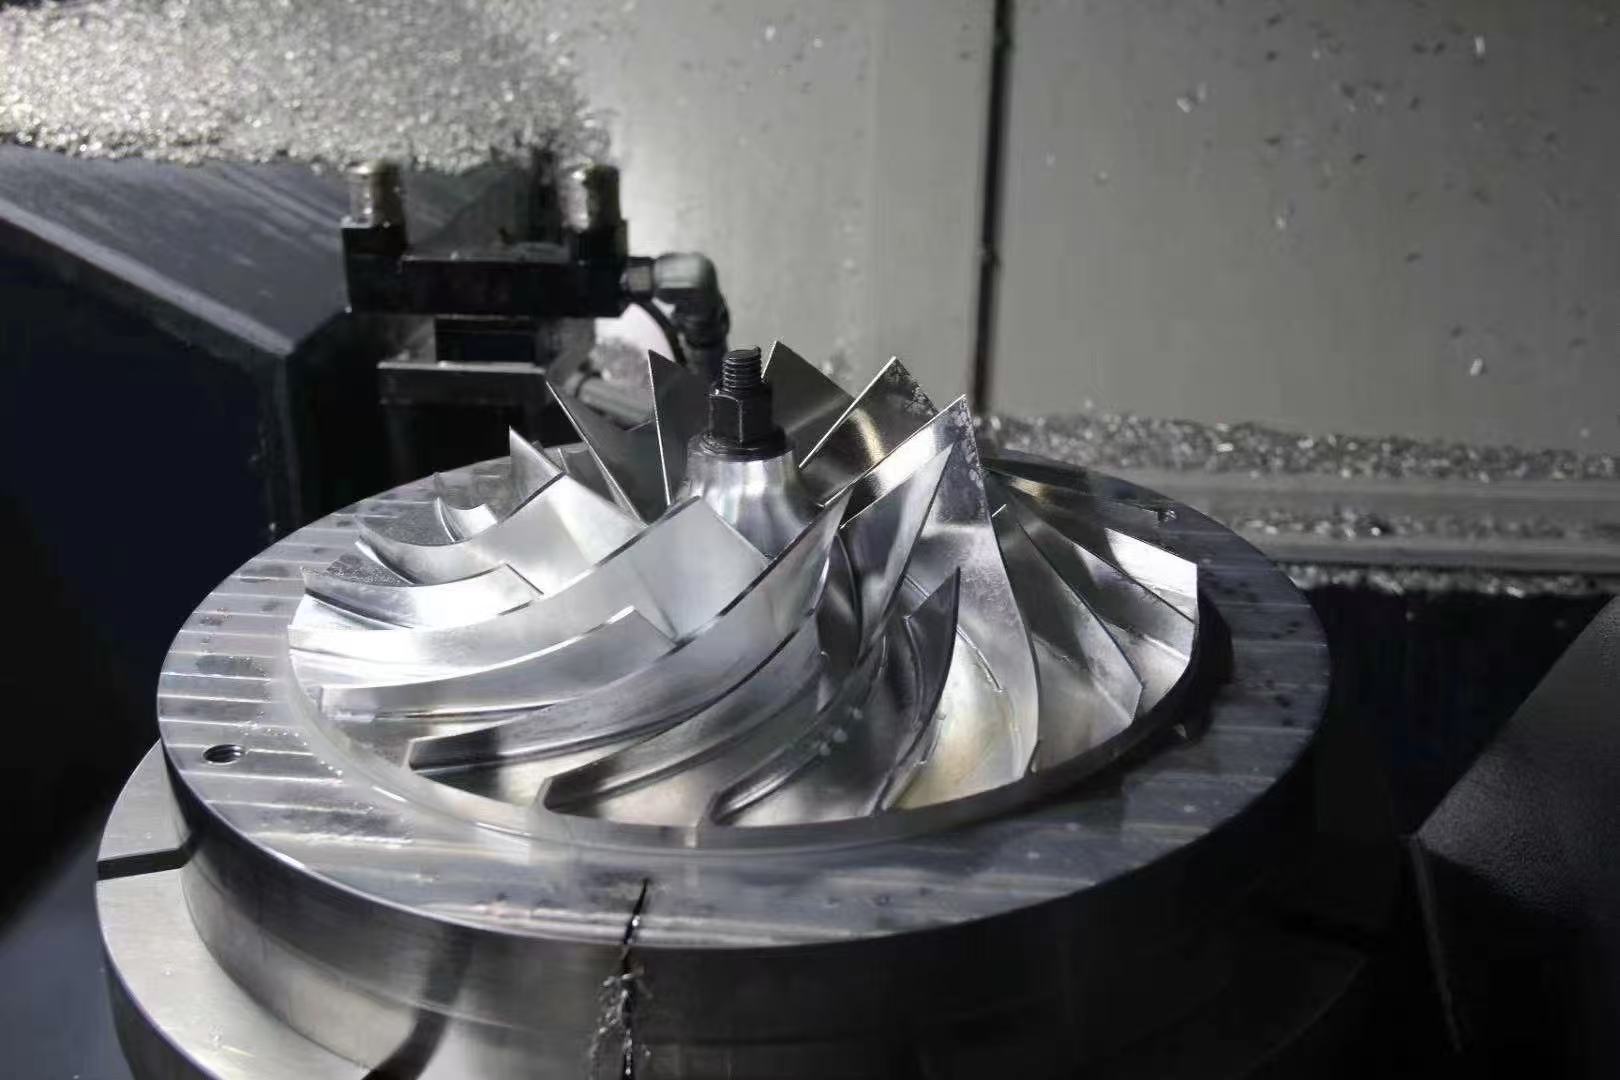
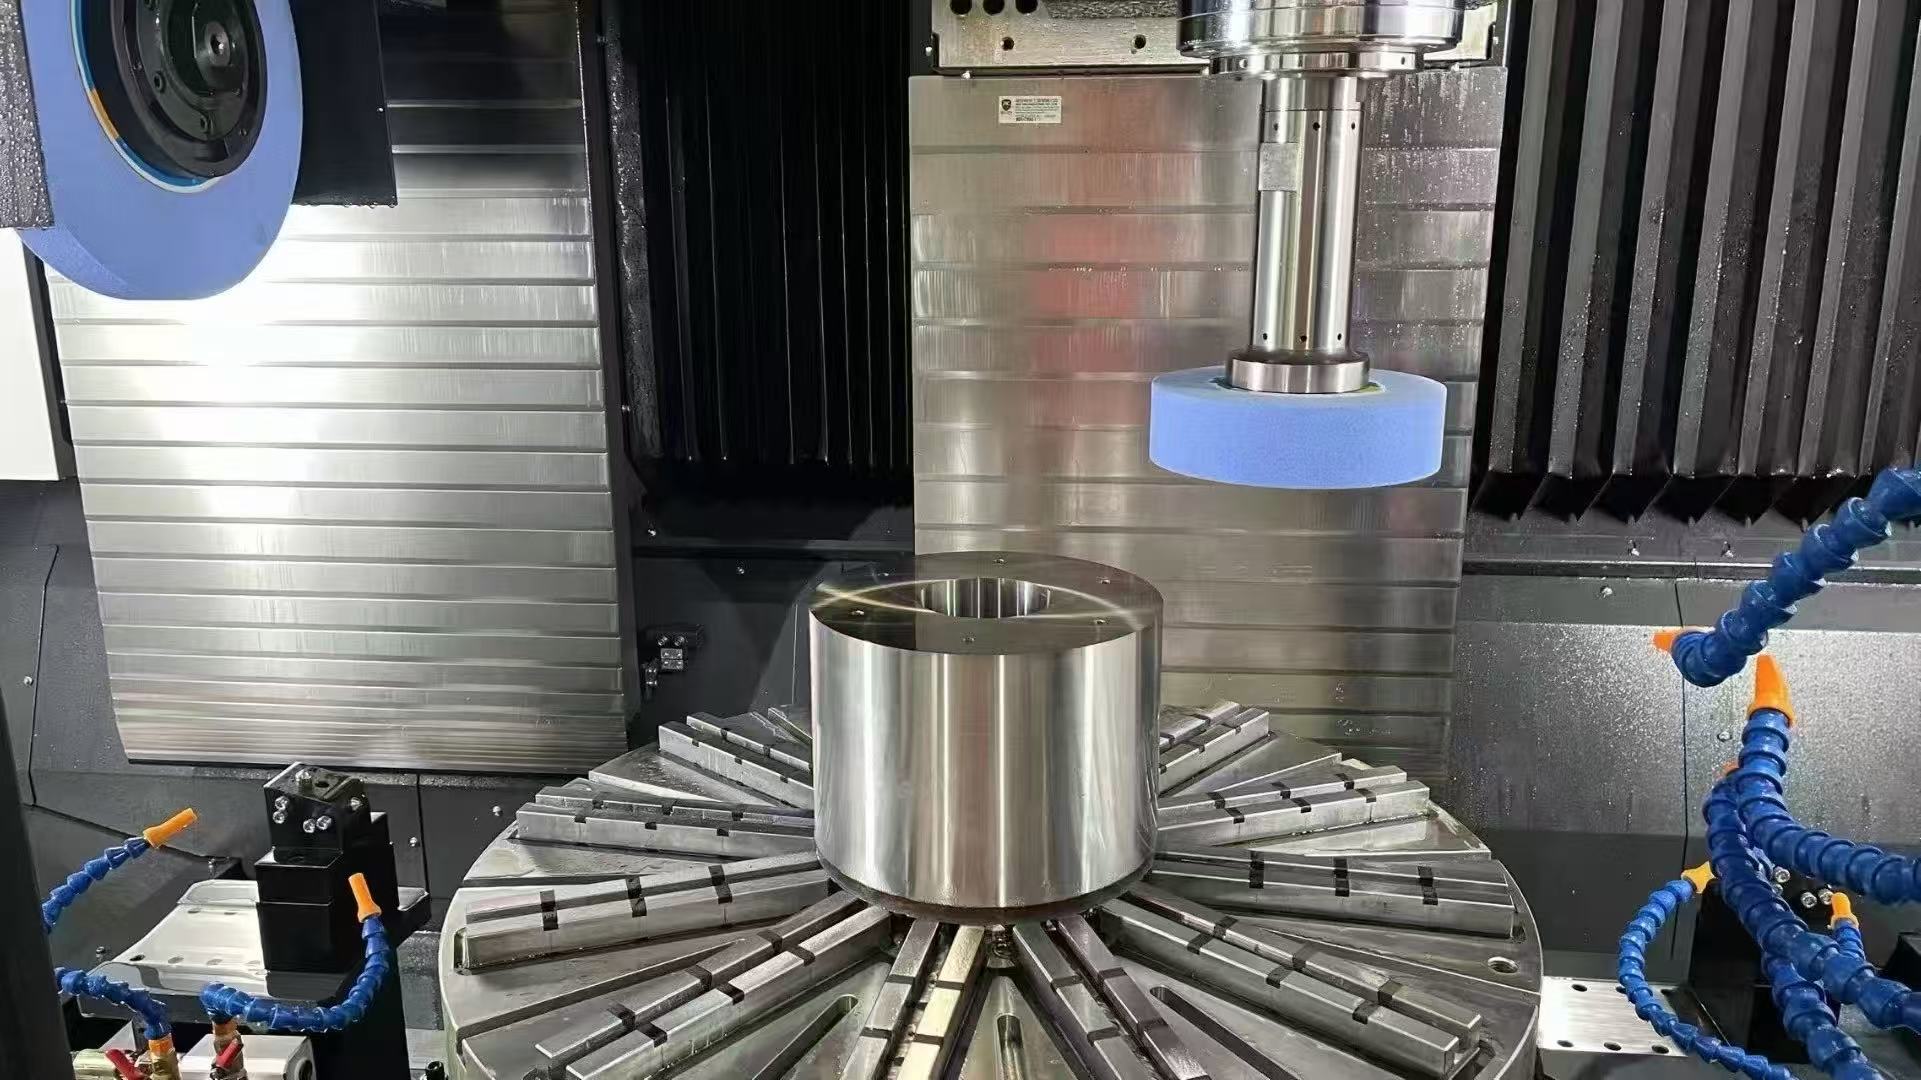
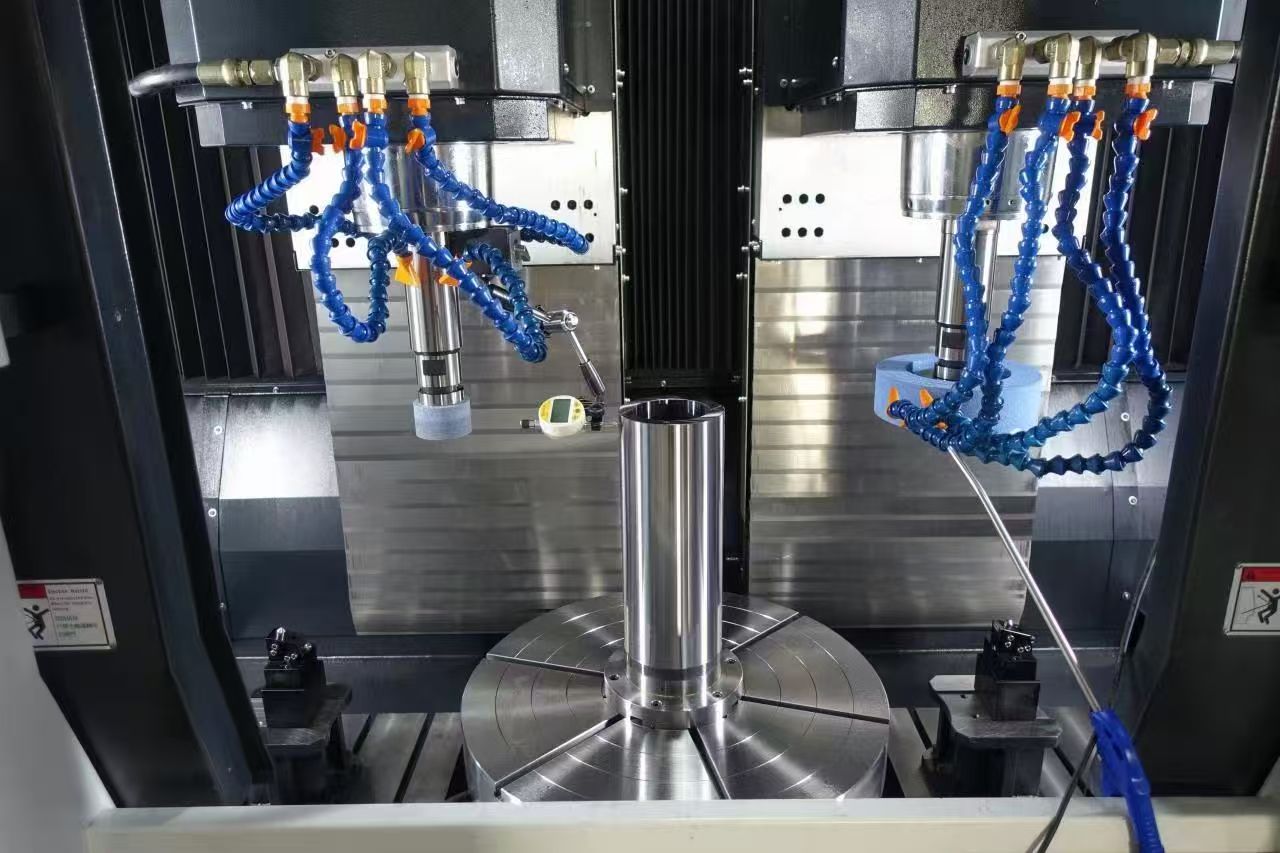
-Applicable scenarios : Need to control End face runout, coaxiality, and mating surface roughness Ring/disk type/bearing position parts (such as flanges, bearing seats, sealing end caps, hydraulic valve plates).
- Our Advantages
Car grinding integrated/vertical rigidity: Vertical layout suppresses gravity deformation, with end faces and inner and outer circles Coaxial is more stable 。
High demand cooperation: The bearing position and sealing surface can reach after grinding Ra ≤ 0.8 μm (Higher evaluation up to Ra 0.4 μ m level)
- Ability and Indicators (Typical)
Representative workpiece: Ø1600 × 800 mm Grade vertical grinding parts; Grinding of bearing position/end face/sealing surface.
Accuracy: Key position ±0.005 mm ; End face runout and coaxiality/roundness shall be controlled according to the drawings; Grinding/grinding at μ m level 。
- Quality and Delivery
Key features of CMM full inspection; Equipped with environmental/plug/roughness gauges.
Dimensional reports and grinding process records can be attached to ensure traceability.
- Machinable Materials (excerpt)
Carbon/Alloy Steel: 45 #, 35 # Q235、40Cr、65Mn
Tool/Mold Steel: D2、Cr12/Cr12MoV、DC53、SKD6(A2)、P20、718、NAK80、8407(H13)、T10/T12、ASP-23、H136/S136
stainless steel: 0Cr18Ni(≈304)、SUS304、17-4PH Wait; Cast iron HT150 ; Copper/brass; POM/PEEK/PA and other engineering plastics
- post-processing
Heat treatment: Quenching and tempering, carburizing, nitriding, induction hardening, aging
Surface: Anodizing (natural color/hard coat/black), blackening, galvanizing/nickel plating, sandblasting/bead spraying QPQ wait
- Quality and documentation
Constant temperature testing room+ CMM three coordinate system ; Three inspections of incoming materials, process, and shipment
Can provide: Size/CMM report, material/heat treatment/surface report, COC certificate of conformity
Packing: VCI rust prevention+independent label+export wooden box ; support FOB/CIF/DAP/DDP, NDA confidentiality
- Quick Request for Quotation (RFQ) List
- 2D image (PDF/DWG)+3D model (STEP/IGS)
- Material, heat treatment, surface treatment standards
- Key Dimensions/Tolerances and Inspection Levels (FAI/CMM)
- Batch/rhythm and target delivery time; trade terms
- If it is an old part: sample photo/size/functional description (reverse mapping can be done)
highlight
- Dimensional stability: ±0.006 mm (At room temperature)
- Excellent smoothness and good consistency in shape and position
- Suitable for: precision fitting surfaces of rings/sleeves/seats
